
Getting the quilt loaded took a little while. First, the back has to be loaded onto the top front bar. Logically, this is tricky. One might think the top should go on the top bar. My husband - what a sweet boy - had to help me think through this.
 Then, the top is loaded on the bottom front bar, and the batting is pulled through the top and bottom front bar. Both the back and batting are attached to the take-up bar.
 Finally, the quilt top is pulled over the batting and also secured to the take-up bar, pinning all layers so that the back and batting are longer than the top. In other words, the back of the quilt should extend beyond the top of the quilt by several inches. Nothing would be more heart breaking than to realize the layers weren't lined up...
 Now it's time to quilt!
 I did a meandering pattern on this quilt.
 Now, I'd be lying if I said there were no bumps on the quilty road. I did have some tension issues - but evidence remains on the back of the quilt. The name of the game is to make sure tenion is between 3 and 4. A couple of times, it was bumped or shimmied out of place and before I knew it the back of my quilt was a mess of thread. Ugh...
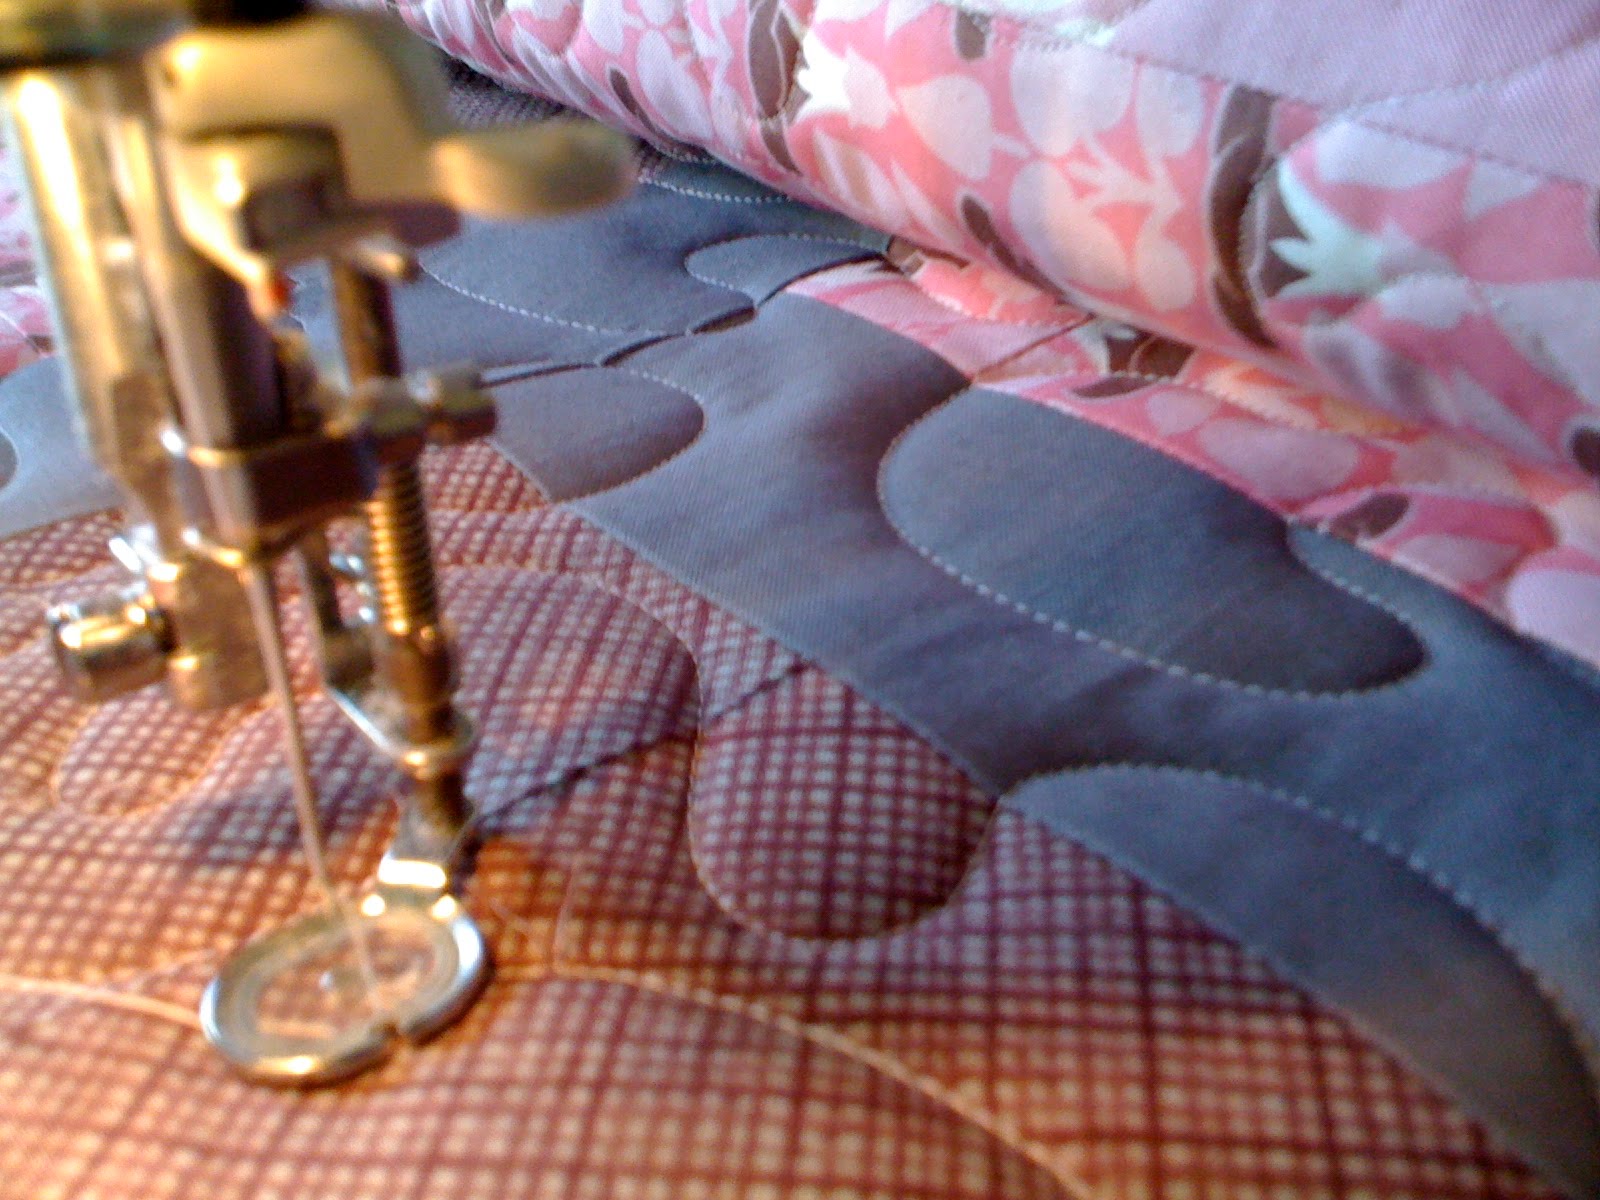 But, all in all, I'm very happy with my quilt. It's lap size (not sure on exact dimensions) and it took me a couple of hours to quilt from start to finish. MUCH faster than using a traditional domestic machine. Plus, there were no gapping or puckering issues because of the nice even tension the rack provides.
 So, if you're thinking about investing in some kind of quilting system, this is a nice option. I'm still perfecting and getting to know it, but I think Gracie and I will be very good friends some day.
I am hand attaching the binding to this quilt and will show pics when it is complete!
No comments:
Post a Comment